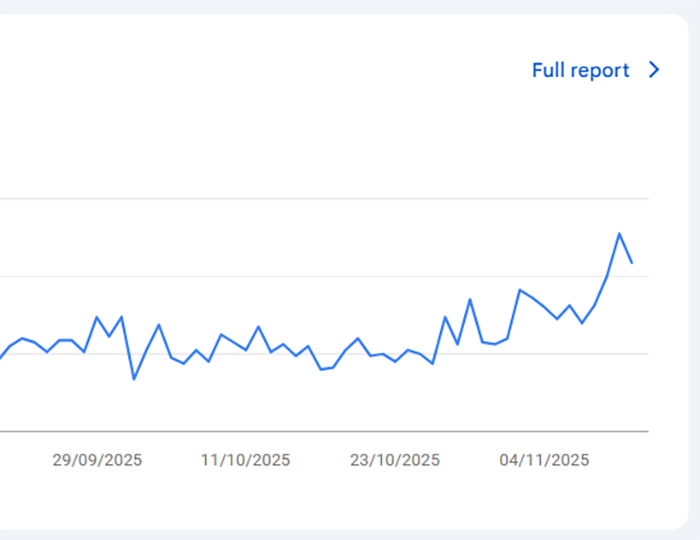
 Quick & Easy On-Page SEO changes that will double your traffic
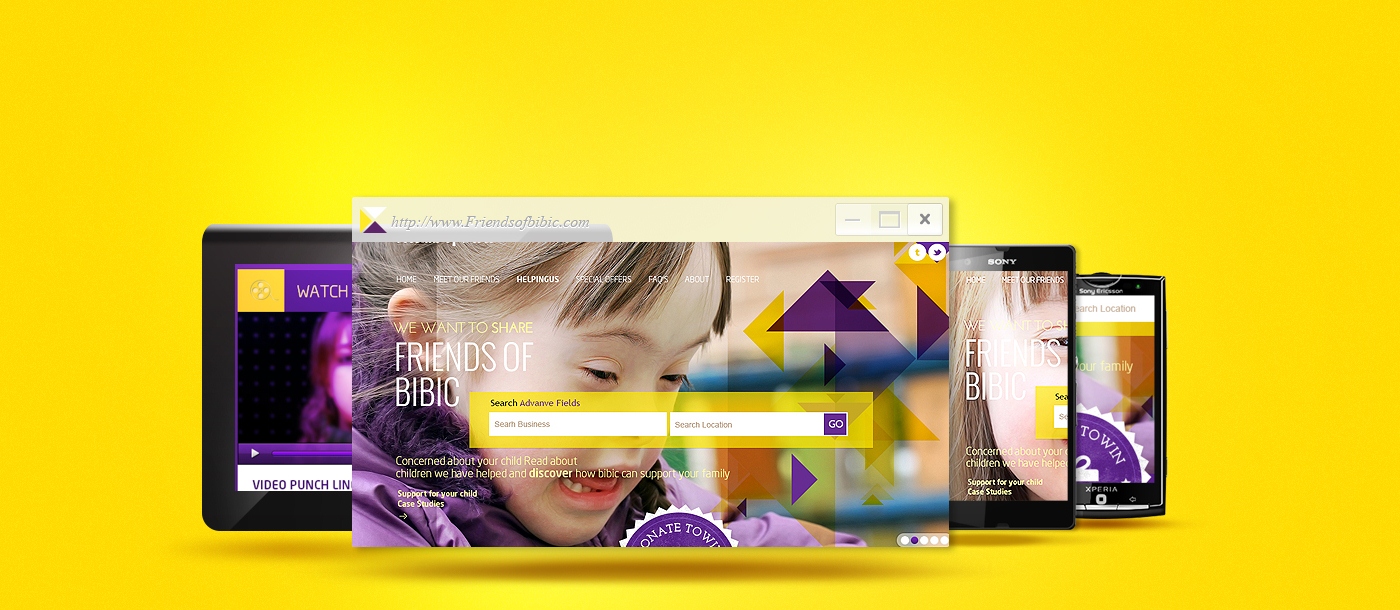
Multi-dimensional marketing solutions
Designing, developing and marketing for esteemed clients to offer enriched user experience with flawless design and better conversion.

Design
Interactive, Innovative and Original web designs – iKozmik offers it all under one platform.

Development
Creative, Dynamic and Client centric web development – iKozmik provides an optimal solution to make the most of your online presence.

Seo
Tailored solutions to promote your websites, products and services for better ranking in search engines.

Apps
Inventive, Practical and Designed keeping the latest technology and trends in mind – iKozmik mobile apps are developed to lead the market.
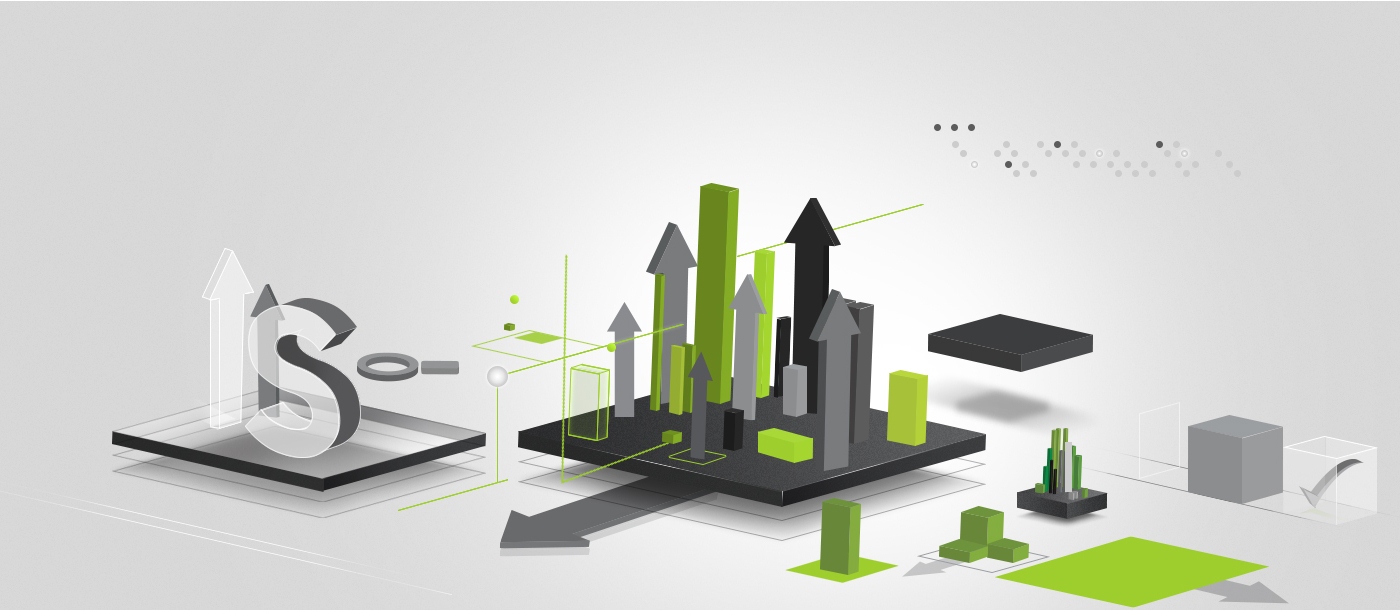
Search engine optimization
Our SEO process is fully adept with know-how of how to increase the traffic on your site through top search engines such as Google and Yahoo.
We work on all aspects of SEO and social media to make sure you get maximum exposure.

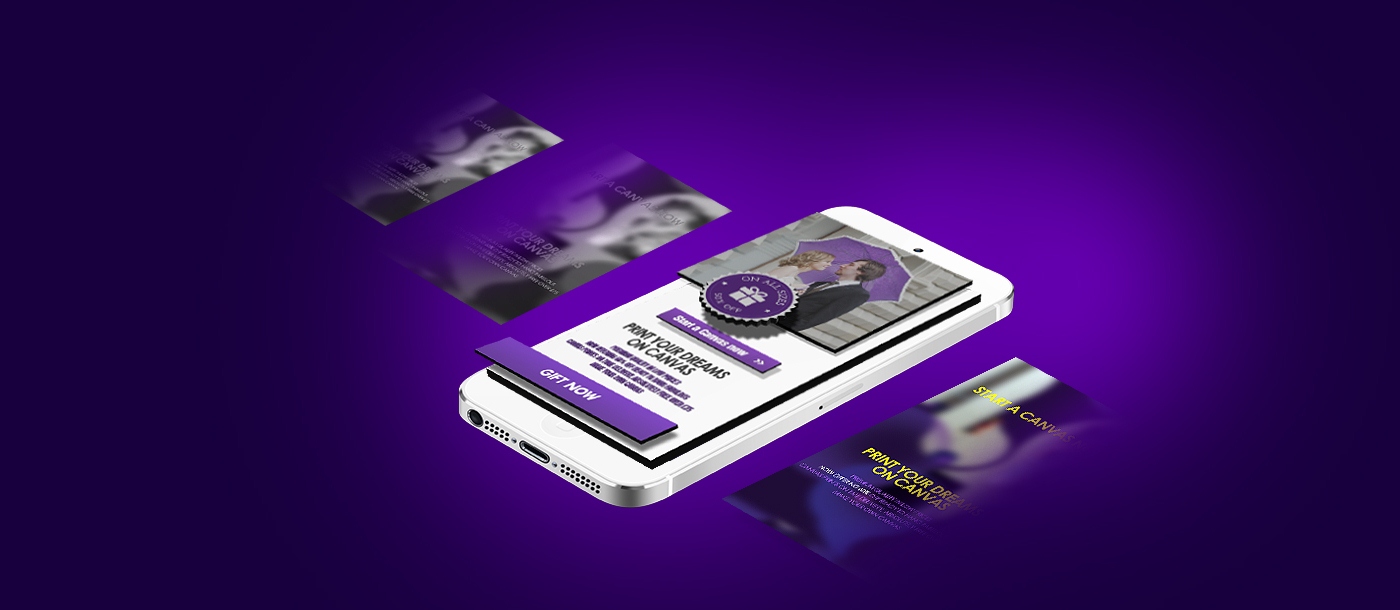
Just4canvas Branding
http://www.just4canvas.co.uk/Interactive Design good as it looks
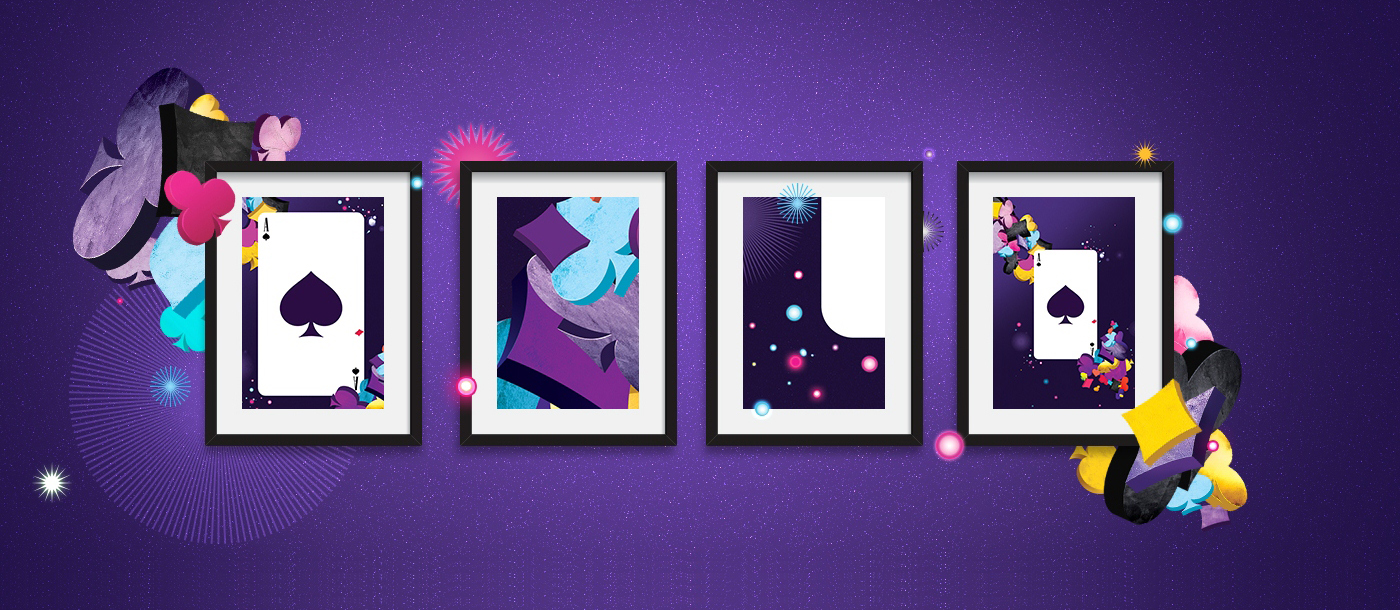
Illustrations are an excellent way to visually market your business and they can be used in a number of ways in marketing literature. Our focus lies on a multitude of styles to uniquely illustrate your business.
Find out more →Our Social School


